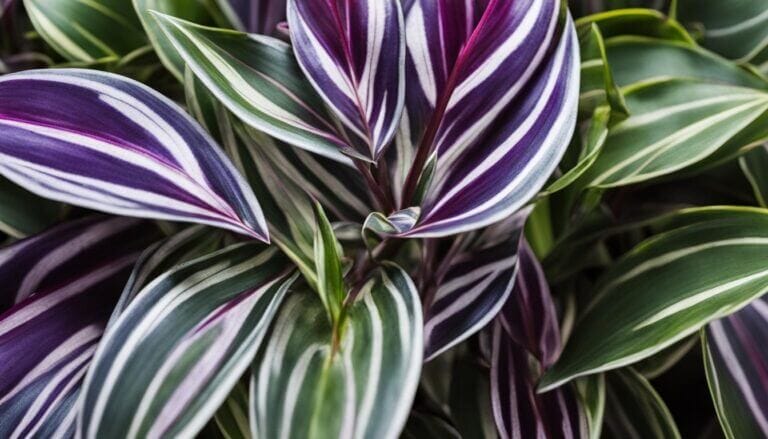
Repotting your Tradescantia, commonly known as inch plant or wandering jew, is essential for promoting healthy growth. By following the proper techniques and timing, you can ensure that your plant thrives. In this section, we will discuss the optimal season for repotting, signs that your Tradescantia needs a larger container, and the importance of selecting the right pot and soil.
Key Takeaways:
- Repotting Tradescantia is important for promoting healthy growth.
- Choose the correct season, typically April, for repotting.
- Signs that your Tradescantia needs repotting include roots growing out of drainage holes or slower growth.
- Select a container with proper drainage holes and 1-2 inches larger than the current pot.
- Use a well-draining potting mix to prevent soggy roots.
Choosing the Correct Season and Container for Repotting Tradescantia
When it comes to repotting your Tradescantia, timing is crucial. The optimal season for repotting is during the beginning of the plant’s growing season, which typically occurs in April. It’s important to avoid repotting during the plant’s dormancy period, such as fall or winter, as this can lead to shock and root rot. By choosing the correct season, you can ensure a successful repotting process and promote healthy growth for your Tradescantia.
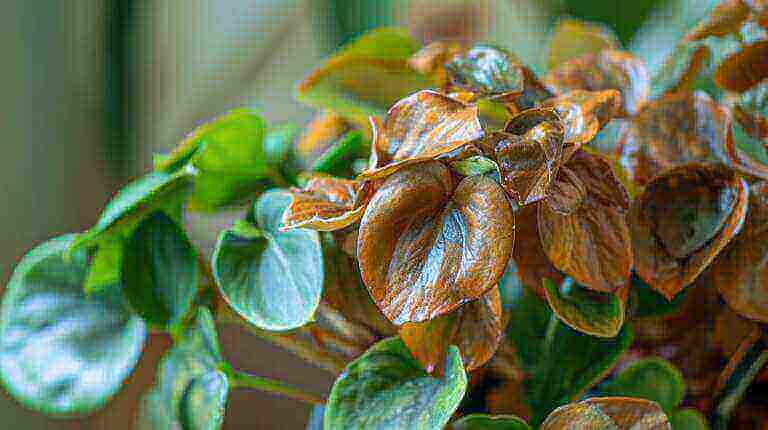
So, how do you know when your Tradescantia needs repotting? Look out for signs such as roots growing out of the drainage holes or slower growth. If you notice these indicators, it’s time to give your plant a larger container. When selecting a container, make sure it has proper drainage holes to prevent waterlogged roots. The new pot should also be 1-2 inches larger in width and depth than the current pot to allow for root expansion. Choosing the right container is essential for providing your Tradescantia with the space it needs to thrive.
In addition to the container, the right soil is equally important. Opt for a well-draining potting mix that will prevent your Tradescantia from sitting in soggy soil. This will help prevent root rot and ensure proper water drainage. By selecting the right potting mix and container, you’re setting the foundation for a successful repotting process and healthy growth for your Tradescantia.
| Signs it’s time to repot Tradescantia: | Choosing the right container: | Selection tips for potting mix: |
|---|---|---|
|
|
|
Key takeaways
Choosing the correct season and container for repotting Tradescantia is essential for promoting healthy growth. Repot during the beginning of the plant’s growing season, avoid repotting during dormancy periods, and look out for signs that indicate the need for repotting. Select a container with proper drainage holes that is 1-2 inches larger in width and depth than the current pot. Use a well-draining potting mix to provide optimal conditions for your Tradescantia. By following these guidelines, you can ensure a successful repotting process and help your Tradescantia thrive.
Step-By-Step Guide to Repotting Tradescantia
Now that we have discussed the optimal season and container for repotting your Tradescantia, let’s dive into the step-by-step process of transplanting your plant. Follow these instructions to ensure a successful repotting and promote healthy growth.
1. Prepare the plant and pot
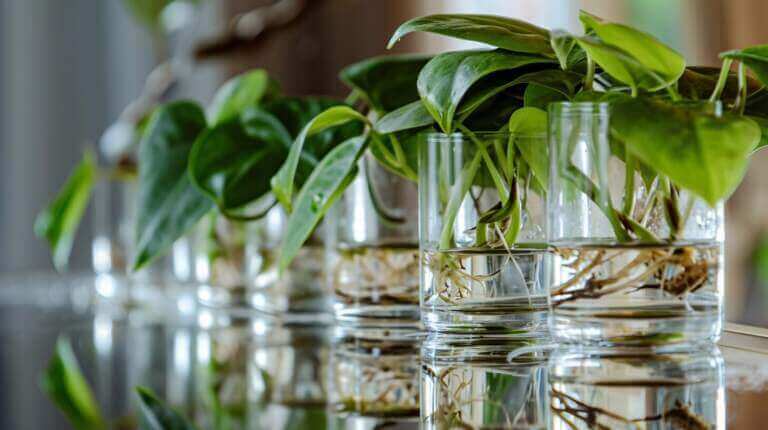
To begin, thoroughly water your Tradescantia a day or two before repotting. This will help loosen the soil and make it easier to remove the plant from its current pot. As sap from the plant may cause irritation, wearing gloves is recommended during this process. Clean the new pot to remove any old soil and prepare it by adding a layer of well-draining soil to the bottom.
2. Remove the plant from its current pot
Gently turn the pot upside down and tap the bottom to release the plant. Carefully slide the Tradescantia out of its current pot, taking care not to damage the roots. If the roots are tightly wound, gently untangle them to encourage healthy growth. Inspect the roots and trim any dead or rotten ones with clean shears or scissors.
3. Repot the plant
Place the rootball of your Tradescantia in the center of the new pot. Fill in the sides with well-draining soil, ensuring that the plant is stable and upright. Press down lightly on the soil to remove any air pockets and provide stability. Water the plant thoroughly until the water drains out of the drainage holes.
4. Post-repotting care
After repotting, it’s important to give your Tradescantia time to adjust and root in its new pot before applying fertilizer. Wait at least a few weeks before fertilizing to prevent stress on the plant. Remember that Tradescantias have a shorter lifespan compared to other houseplants, so be observant of its health and consider propagating new plants from cuttings to ensure the longevity of your Tradescantia collection.
Following these step-by-step instructions will help you successfully repot your Tradescantia, promoting healthy growth and ensuring a thriving plant for years to come.
FAQ
When is the best time to repot my Tradescantia?
The optimal time to repot your Tradescantia is during the beginning of its growing season, usually in April. Avoid repotting during its dormancy period in fall or winter to prevent shock and root rot.
How can I tell if my Tradescantia needs repotting?
Signs that your Tradescantia needs repotting include roots growing out of the drainage holes or slower growth. If you notice these signs, it’s time to consider giving it a larger container.
What should I look for when selecting a container for repotting?
When choosing a container, make sure it has proper drainage holes and is 1-2 inches larger in width and depth than the current pot. This will allow the roots of your Tradescantia to have enough space to grow.
What type of soil should I use for repotting?
It’s important to select a well-draining potting mix for your Tradescantia to prevent soggy roots. This will help promote healthy growth and prevent waterlogged conditions.
How do I repot my Tradescantia?
Start by thoroughly watering the plant to loosen the soil. Wear gloves to protect your skin from the plant’s sap. Carefully remove the plant from its current pot, untangle the rootball, and prune any dead or rotten roots. Clean the new pot and add a layer of well-draining soil to the bottom. Place the plant in the center of the pot and fill in the sides with soil. Water the plant until it drains out of the drainage holes. Avoid fertilizing immediately after repotting and give it time to root in its new pot before applying fertilizer.
How often should I repot my Tradescantia?
Tradescantias have a shorter lifespan compared to other houseplants and may need to be replaced after a year or two. However, if your plant is showing signs of being root-bound or experiencing slow growth, you can repot it more frequently.
Can I propagate my Tradescantia?
Yes, propagation is a great way to continue the legacy of your Tradescantia and ensure its longevity. You can propagate it through stem cuttings or by division.