Welcome to my guide on repotting crotons, the vibrant tropical plants known for their colorful and glossy leaves. If you want to ensure the health and vitality of your croton plant, repotting is an essential step. By refreshing the soil and providing adequate space for growth, you can help your croton thrive throughout the season.
Key Takeaways:
- Repotting crotons is necessary every few years to provide fresh nutrients and space for growth.
- Signs that it’s time to repot include frequent watering, slow growth, and roots escaping the drainage holes.
- Choose a suitable pot with drainage holes and a slightly acidic, well-draining potting mix.
- Follow a step-by-step process to repot your croton, ensuring proper watering and soil placement.
- After repotting, maintain proper care by watering when the top inch of soil feels dry and providing bright, indirect light.
When to Repot Crotons: Signs and Timing
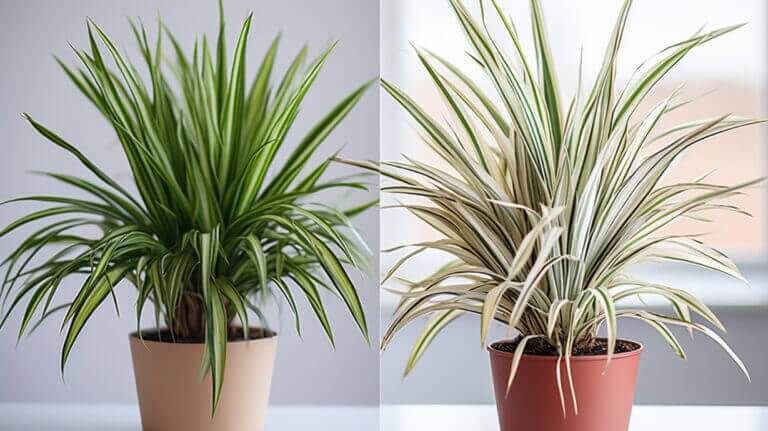
Knowing when to repot your crotons is essential for their continued health and growth. Pay close attention to the following signs that indicate it’s time to give your plants a new home:
- Frequent watering: If you find yourself watering your crotons more frequently than usual, it may be a sign that their current pot is too small and unable to hold enough water.
- Stunted growth: If your crotons aren’t growing as vigorously as they used to, it could be a sign that they have outgrown their current pot and need more space to thrive.
- Roots escaping the pot: If you notice roots growing out of the drainage holes or circling around the pot, it’s a clear indication that your crotons are rootbound and in need of repotting.
As for the timing, it is generally recommended to repot crotons every two to three years in the spring or early summer. This aligns with their natural growth cycle and provides them with fresh soil and nutrients just as they enter their active growth phase.
It’s important to note that winter is not an ideal time for repotting crotons. During this season, crotons tend to slow down their growth, and disturbing their roots with repotting can cause undue stress. Therefore, it’s best to wait until spring or early summer to give your crotons a new home.
By observing these signs and following the appropriate timing, you can ensure that your crotons receive the repotting they need to thrive and continue adding beauty to your indoor or outdoor space.
Choosing the Right Pot and Soil for Repotting Crotons
When it comes to repotting crotons, selecting the appropriate pot and soil is crucial for the health and well-being of your plants. The right pot and soil combination can provide optimal drainage, air circulation, and nutrient availability, ensuring that your crotons thrive in their new environment.
Choosing the Pot
There are different types of pots available for repotting crotons, each with its own set of advantages. Plastic pots are lightweight and retain moisture well, while glazed pots can retain even more water. On the other hand, terracotta pots allow for better air circulation and faster drying of the soil. It is important to choose a pot with drainage holes in the bottom to prevent waterlogging, which can lead to root rot. Additionally, the new pot should be one size larger than the current pot to allow for proper root expansion.
Selecting the Soil
When it comes to soil selection, a typical all-purpose potting mix with a pH between 4.5 to 6.5 works well for crotons. Avoid using chunky or dense potting soils, as they can lead to waterlogging and root rot. Alternatively, you can create a DIY potting mix using a combination of coco coir, peat moss, organic compost, orchid bark, and perlite. This mix provides a well-draining and nutrient-rich environment for your croton plants.
| Pot Type | Advantages |
|---|---|
| Plastic | Lightweight, retains moisture |
| Glazed | Retains more water |
| Terracotta | Better air circulation, faster drying |
Table: Advantages of Different Pot Types for Repotting Crotons
How to Repot Crotons: Step-by-Step Guide
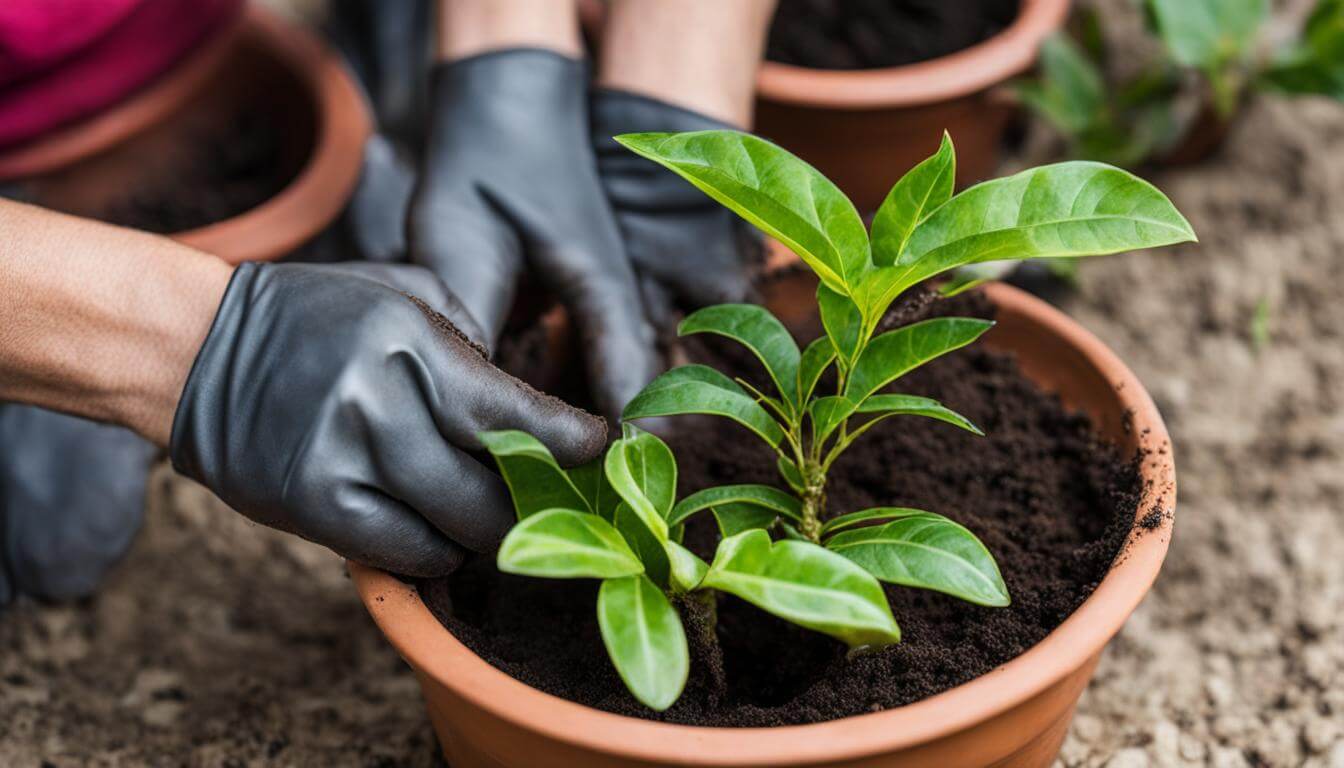
Repotting crotons is a straightforward process that can help maintain the health and vitality of these tropical plants. Follow these step-by-step instructions to ensure a successful repotting:
- Water the plant in its current pot and allow it to sit for about an hour. This helps loosen the soil and make it easier to remove the plant from the pot.
- Place a piece of screening over the drainage hole of the new pot. This prevents the soil from escaping while still allowing for adequate drainage.
- Add a layer of fresh soil to the new pot, enough to elevate the root ball of the croton when placed inside.
- Gently remove the croton from its current pot, using your hands or a trowel to loosen the roots if they are tightly packed.
- Position the croton in the new pot, ensuring that it sits slightly below the edge of the pot. This allows room for watering without overflowing.
- Backfill the pot with soil, gently pressing it down to secure the plant in place. Avoid compacting the soil too tightly, as this can hinder root growth.
- Water the croton thoroughly, allowing the water to soak into the soil and drain out through the bottom of the pot.
- Avoid overwatering in the following weeks, making sure the soil is damp but not waterlogged.
By following these simple steps, you can repot your crotons and provide them with the fresh nutrients and space they need to thrive.
Common Mistakes to Avoid
While repotting crotons is relatively easy, there are a few common mistakes that can hinder the process:
- Avoid repotting during the winter or when the plant is in a slow-growth phase. Spring or early summer is the ideal time for repotting, when the croton is actively growing.
- Don’t choose a pot that is too large for the croton. Select a pot that is one size larger than the current pot, providing enough room for the roots to spread without drowning in excess soil.
- Do not use a pot without drainage holes. Proper drainage is crucial for preventing waterlogged soil and root rot.
- Avoid overwatering after repotting. While it’s important to thoroughly water the croton initially, excessive watering can lead to root rot and other problems. Allow the soil to dry out slightly between waterings.
By avoiding these common mistakes and following the step-by-step guide, you can ensure a successful repotting process for your croton plants.
Maintaining Crotons after Repotting: Watering and Care
After repotting crotons, it is important to provide proper care to ensure their continued health and vibrant foliage. Effective watering and overall maintenance are key factors in maintaining the well-being of your repotted croton plants.
Proper watering is essential for the health and vitality of crotons. It is important to monitor the moisture level of the soil and water the plants when the top inch feels dry. However, be cautious not to overwater, as this can lead to root rot and other water-related issues.
In addition to watering, crotons thrive in high humidity environments. To maintain the right moisture levels, consider misting the leaves occasionally or placing a tray filled with water near the plant. This will help create a more favorable environment for your croton’s growth.
When it comes to light and temperature, crotons prefer bright, indirect light and temperatures between 60-85°F. Keep your plants away from drafts, heat sources, and extreme temperature variations to prevent stress or damage to the foliage.
Fertilizing is another important aspect of croton plant care. During the growing season, fertilize your repotted crotons monthly with a balanced liquid fertilizer or slow-release granules. This will provide the necessary nutrients for healthy foliage and growth.
Regularly clean the leaves with a damp cloth to remove dust and debris and promote proper photosynthesis. Additionally, keep an eye out for any dead or damaged leaves and promptly remove them to maintain the overall appearance of the plant.
Caring for Repotted Crotons: Key Points
- Water your crotons when the top inch of soil feels dry, providing consistent moisture without overwatering.
- Maintain high humidity levels by misting the leaves or using a tray of water near the plant.
- Place your croton in a location with bright, indirect light and temperatures between 60-85°F.
- Fertilize monthly during the growing season with a balanced liquid fertilizer or slow-release granules.
- Clean the leaves regularly with a damp cloth and remove any dead or damaged foliage.
By following these care guidelines, you can ensure the continued well-being of your repotted croton plants and enjoy their vibrant and colorful foliage for years to come.
Pruning Crotons for Optimal Growth and Appearance
Pruning plays a key role in maintaining the optimal growth and appearance of croton plants. By removing damaged or diseased leaves down to the stem base using sterile scissors, you can prevent further spread of diseases and promote overall plant health. Regular pruning also helps shape crotons, giving them a more compact and lush appearance.
When pruning crotons, it’s important to avoid excessive removal of foliage, especially during the winter when the plant experiences slower growth. Instead, opt for gradual pruning, removing one-third of the stem height at a time to prevent shock to the plant and ensure it continues to thrive.
Shaping Crotons
If you’re looking to shape your croton plant, pruning can help you achieve the desired look. Whether you prefer a bushy, compact shape or a more upright and tree-like appearance, careful pruning can help you achieve your aesthetic goals. Keep in mind that each time you prune, new growth will emerge from the pruned stem, affecting the overall shape and appearance of the plant.
By regularly pruning your croton plant, you not only enhance its visual appeal but also encourage healthy growth. The removal of dead or dying leaves stimulates the plant’s energy towards new growth, resulting in a vibrant and thriving croton plant.
| Pruning Tips for Crotons | Benefits |
|---|---|
| Remove damaged or diseased leaves | Prevents spread of diseases and promotes overall plant health |
| Prune gradually, one-third of stem height at a time | Prevents shock to the plant and ensures continued growth |
| Shape crotons according to your preference | Allows you to achieve desired aesthetics and visual appeal |
| Regular pruning stimulates new growth | Results in a vibrant and thriving croton plant |
Propagating Crotons: Growing New Plants
Propagating crotons is an exciting way to expand your collection and enjoy the beauty of these vibrant tropical plants. There are two common methods of propagation: stem cuttings and leaf cuttings. Both techniques are relatively easy and can result in successful new plant growth.
Stem Cuttings
To propagate crotons using stem cuttings, start by selecting a healthy stem with three to four leaves. Using clean, sharp scissors, make a clean cut just below a leaf node. Dip the cut end in rooting hormone to encourage root growth.
Next, prepare a well-draining potting mix and create a planting hole using your finger or a pencil. Place the cutting in the hole and gently firm the soil around it. Water the cutting thoroughly and cover the pot with a clear plastic bag to maintain high humidity. Place the pot in a warm area with bright, indirect light.
Within 6 to 8 weeks, roots should start to develop. You can check the progress by gently tugging on the cutting; if it resists, roots are forming. Once the cutting has a strong root system, you can transplant it into a larger pot with regular potting soil.
Leaf Cuttings
Leaf cuttings are another method for propagating crotons. Begin by selecting a healthy, mature leaf from the parent plant. Gently remove the leaf from the stem, ensuring that a small piece of stem is attached to the base of the leaf.
Place the leaf cutting in a glass or jar of water, making sure that the stem is submerged while the leaf remains above the waterline. Position the container in a well-lit area, but avoid direct sunlight. In a few weeks, roots will begin to grow from the base of the leaf.
Once the roots are about an inch long, carefully transplant the leaf cutting into a small pot with well-draining soil. Keep the soil moist but not overly wet, and provide bright, indirect light for the new plant to thrive.
| Propagation Method | Advantages | Disadvantages |
|---|---|---|
| Stem Cuttings | – Higher success rate – Faster root development – Can produce multiple new plants from a single stem | – Requires the use of rooting hormone – May need additional care and monitoring during the rooting process |
| Leaf Cuttings | – Simple and easy method – Can propagate from a single leaf – Less risk of spreading diseases | – Slower root development compared to stem cuttings – Some leaves may not successfully produce roots |
Fertilizing Crotons for Optimal Health
When it comes to keeping your croton plants healthy and vibrant, proper fertilization is key. By providing the right nutrients, you can ensure their foliage stays lush and their growth remains strong.
I recommend using a fertilizer specifically formulated for crotons, with an N-P-K ratio of 3-1-2 or a balanced fertilizer with a ratio of 3 or lower. This will provide your plants with the necessary nitrogen, phosphorus, and potassium they need for optimal health.
When fertilizing your crotons, it’s best to feed them while watering. You can dilute a liquid fertilizer and apply it during each watering session or sprinkle granular fertilizer on the soil surface. Be sure to follow the package instructions for proper dosage.
However, it’s important to avoid overfertilization, as this can cause leaf browning, wilting, and can lead to a buildup of excess fertilizer in the soil. During the winter months, when crotons enter a dormant phase, refrain from fertilizing altogether.
FAQ
When should I repot my croton plant?
Repotting should be done every two to three years in the spring or early summer when new growth begins.
What are the signs that it’s time to repot a croton plant?
Signs that it’s time to repot include frequent watering, slow growth, roots escaping the pot, and it has been two to three years since the last repotting.
What type of pot and soil should I use for repotting crotons?
Plastic or terracotta pots with drainage holes are suitable, and a typical all-purpose potting mix with a pH between 4.5 to 6.5 works well for crotons.
How do I repot a croton plant?
Start by watering the plant in its current pot, then place a piece of screening over the drainage hole of the new pot. Carefully remove the plant from its current pot and position it in the new pot, backfill with soil, tamp down gently, and water thoroughly.
How should I care for my croton plant after repotting?
Water the plant when the top inch of soil feels dry, mist the leaves occasionally to maintain humidity, place the plant in bright, indirect light, fertilize monthly during the growing season, and regularly clean the leaves and remove debris from the soil surface.
How should I prune my croton plant?
Remove any damaged or diseased leaves down to the stem base using sterile scissors. If the plant is overgrown, prune one-third of the stem height at a time. Avoid excessive pruning during the winter when the plant is in a slower growth phase.
How can I propagate croton plants?
Crotons can be propagated through stem cuttings or leaf cuttings. Plant stem cuttings in damp, well-draining potting soil and maintain high humidity. Leaf cuttings can be rooted in water and then planted in well-draining soil.
How often should I fertilize my croton plant?
Fertilize monthly during the growing season using a balanced liquid fertilizer or slow-release granular fertilizer. Avoid fertilizing during the winter when crotons are in a dormant phase.