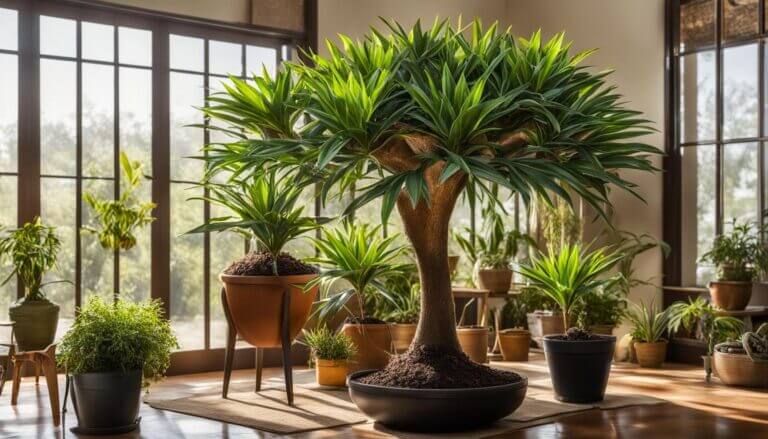
Greetings plant enthusiasts! Today, I want to share with you a comprehensive guide on repotting dieffenbachia indoor plant, also known as dumb cane. Whether you’re a seasoned green thumb or a beginner, understanding when to transplant and how to repot your dieffenbachia correctly is crucial for its overall health and growth.
Key Takeaways:
- Repotting dumb cane plant is necessary to ensure its health and growth.
- Choose a well-draining soil mix to prevent root rot.
- Signs that your dieffenbachia needs repotting include root outgrowing the container and slow growth.
- Follow a step-by-step guide to repot your dieffenbachia successfully.
- Dieffenbachia can be easily propagated through various methods such as root cutting and cane cutting.
Dieffenbachia Care: Light, Watering, and Soil Requirements
Proper care is crucial for the health and growth of your dieffenbachia plant. Understanding its light, watering, and soil requirements will help you provide the best environment for your beloved houseplant.
Light Requirements
Dieffenbachia plants thrive in bright, indirect light. Place your plant near a window where it can receive filtered sunlight. It can tolerate low light conditions but may grow slowly and have less vibrant foliage in such environments.
Watering
The watering needs of dieffenbachia are unique. The plant prefers consistently moist soil but can suffer from overwatering. Water your dieffenbachia when the top inch of soil feels slightly dry to the touch. Ensure that the pot has proper drainage to prevent waterlogged roots, which can lead to root rot.
Soil Requirements
Choosing the right soil mix is essential for maintaining the health of your dieffenbachia. It requires a well-draining soil that allows excess water to escape easily. A mix of potting soil, peat moss, and perlite or sand can create an ideal growing medium. This type of soil provides adequate moisture retention while allowing excess water to flow through.
Signs That Your Dieffenbachia Needs Repotting
If you want your dieffenbachia to thrive and continue to grow healthily, it’s essential to be aware of the signs that indicate it needs repotting. Here are a few key indicators to look out for:
- The roots are outgrowing the container: When the roots become overcrowded and start to circle around the inside of the pot, it’s a clear sign that the plant needs more space.
- Slow growth: If you notice that your dieffenbachia’s growth has significantly slowed down or it has stopped growing altogether, it could be a result of being root-bound.
- Dehydrated dieffenbachia: When your dieffenbachia starts showing signs of dehydration, such as drooping leaves, despite proper watering, it may be an indication that the plant has outgrown its current pot.
Benefits of Repotting
Repotting your dieffenbachia at the right time offers several benefits. By providing more space for the roots to grow, you allow the plant to establish a stronger root system, which is crucial for absorbing nutrients and water. Repotting also helps prevent the plant from becoming root-bound, where the roots are trapped and unable to grow further.
“Repotting your dieffenbachia periodically not only promotes its overall health but also gives it room to breathe and continue flourishing.”
Additionally, repotting provides an opportunity to refresh the soil, ensuring it has adequate nutrients and proper drainage, which is essential for preventing issues like root rot. Overall, repotting your dieffenbachia when needed is a simple yet effective way to support its optimal growth and well-being.
| Signs to Repot Dieffenbachia | Pot-Bound Dieffenbachia | Roots Outgrowing Container | Slow Growth | Dehydrated Dieffenbachia |
|---|---|---|---|---|
| Roots visibly outgrowing the pot | Restricted root growth due to cramped space | Roots circling inside the pot | Slowed or stopped growth | Drooping leaves despite proper watering |
How to Repot Your Dieffenbachia Houseplant: Step-by-Step Guide
Repotting your dieffenbachia is a simple process that can help promote its growth and overall health. Follow these step-by-step instructions to ensure a successful repotting:
Gather the necessary materials
- A larger pot with drainage holes: Choose a pot that is one size larger than the current one to allow room for the plant’s roots to grow.
- Fresh, well-draining soil: Use a high-quality potting mix that is designed for tropical plants.
- Watering can: Prepare water for watering the plant after repotting.
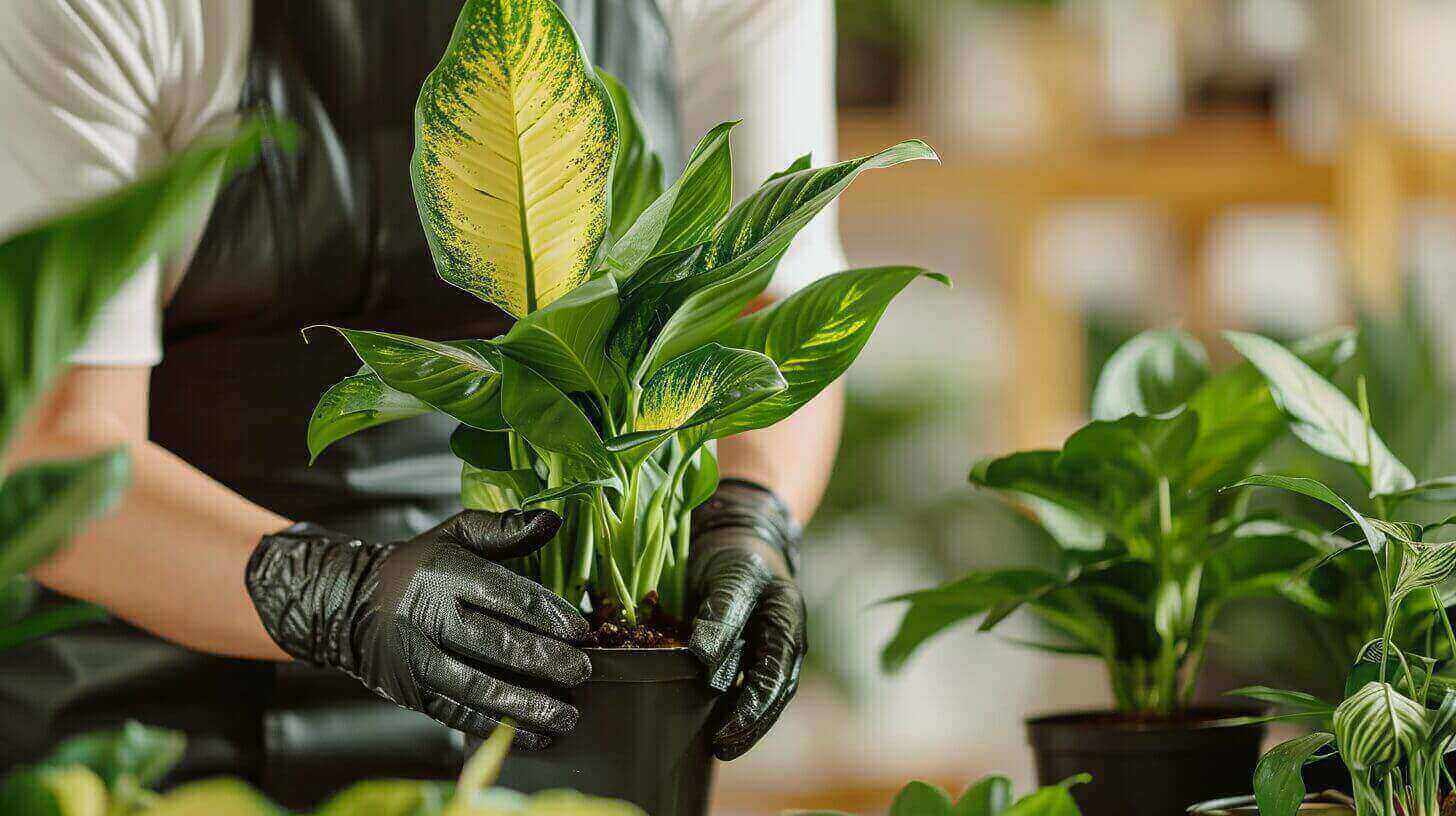
- Gloves: It is recommended to wear gloves to protect your hands from any potential skin irritation caused by the plant’s sap.
Step-by-step repotting process
- Choose the right time: The best time to repot your dieffenbachia is in the spring or early summer when the plant is actively growing.
- Prepare the new pot: Fill the new pot with fresh, well-draining soil, leaving enough space at the top for the plant.
- Remove the plant from its current pot: Carefully turn the pot upside down and tap the bottom to loosen the plant’s root ball. Gently remove the plant from the pot.
- Separate the roots: Gently separate the roots with your hands, teasing them apart and removing any excess soil or dead roots.
- Transfer the plant: Place the plant in the new pot, ensuring that it sits at the same level as it did in the previous pot. Add more soil around the roots, filling the pot, and gently firming it to provide stability.
- Water the plant: Thoroughly water the plant immediately after repotting to help settle the soil and hydrate the roots.
Remember to place your newly repotted dieffenbachia in a suitable location with the proper lighting and watering conditions to promote its growth and wellbeing.
Table: Materials Needed for Repotting Dieffenbachia
| Materials | Description |
|---|---|
| Larger pot with drainage holes | Choose a pot that is one size larger than the current one to allow room for the plant’s roots to grow. |
| Fresh, well-draining soil | Use a high-quality potting mix that is designed for tropical plants. |
| Watering can | Prepare water for watering the plant after repotting. |
| Gloves | It is recommended to wear gloves to protect your hands from any potential skin irritation caused by the plant’s sap. |
How to Propagate Dieffenbachia Plant: Methods for Reproduction
If you want to expand your dieffenbachia collection or share this beautiful plant with family and friends, propagation is the way to go. Dieffenbachia can be easily propagated through various methods, including root cutting, stump cutting, and cane cutting. Each method has its advantages and is suitable for different situations.
Root Cutting
Root cutting is a common and straightforward method of propagating dieffenbachia. To propagate using root cuttings, carefully remove a section of roots from a healthy parent plant. Make sure the cutting has adequate healthy roots and a few attached leaves. Dip the cut end of the root cutting in rooting hormone to promote root growth. Plant the cutting in a pot with fresh, well-draining soil and keep it warm and moist. Within a few weeks, new roots should start to form, indicating successful propagation. Maintain proper care and gradually acclimate the new plant to its environment.
Stump Cutting
Stump cutting is another effective method for propagating dieffenbachia. To propagate using stump cuttings, choose a mature dieffenbachia plant with a sturdy stem. Cut the top part of the plant, leaving a stump with a few leaves attached. Apply rooting hormone to the cut end of the stump to encourage root development. Plant the stump in a pot with fresh, well-draining soil and place it in a warm and humid environment. In time, new roots will emerge from the stump, and new growth will appear. It’s important to provide consistent care and ensure the new plant receives appropriate light and water.
Cane Cutting
Cane cutting is a slightly different method of propagating dieffenbachia. To propagate using cane cuttings, select a healthy cane with a bud or growth node. Cut a section of the cane that includes the bud and remove any lower leaves. Plant the cane horizontally in a pot with fresh, well-draining soil, making sure the bud is facing upwards. Cover the cutting with a plastic bag or place it in a propagator to maintain humidity. Over time, the cane will develop roots and new leaves, indicating successful propagation. Provide proper care and gradually expose the new plant to its growing conditions.
Summary
Propagation is an exciting way to reproduce your dieffenbachia and create new plants. Whether you choose root cutting, stump cutting, or cane cutting, each method offers a rewarding experience and the opportunity to expand your collection. Remember to provide the right care and conditions to ensure successful propagation and the healthy growth of your new dieffenbachia plants.
Common Issues with Dieffenbachia and How to Solve Them
Dieffenbachia plants are generally hardy and low-maintenance. However, they can encounter a few common issues that may affect their overall health and appearance. By recognizing these problems early and taking appropriate action, you can help your dieffenbachia thrive.
Yellow Leaves
One of the most common problems with dieffenbachia is yellowing leaves. This can be caused by various factors, such as overwatering, underwatering, or inadequate lighting. To address yellow leaves, examine your watering habits and ensure you are providing the right amount of moisture. Avoid overwatering, as this can lead to root rot and yellowing leaves. Additionally, check the lighting conditions and move your plant to a brighter spot if necessary.
Drooping Leaves
If you notice that your dieffenbachia’s leaves are drooping, it may be a sign of underwatering or insufficient humidity. Ensure that you are watering your plant regularly, allowing the soil to dry out slightly between waterings. Provide adequate humidity by misting the leaves or placing a tray of water near the plant to increase moisture in the air.
Pests on Dieffenbachia
Dieffenbachia can be susceptible to pests such as spider mites and mealybugs. If you spot these pests on your plant, take immediate action to control the infestation. Use a mild insecticidal soap or neem oil to treat the affected areas, following the instructions on the product label. Regularly inspect your dieffenbachia for signs of pests to catch any infestations early.
| Problem | Possible Causes | Solutions |
|---|---|---|
| Yellow Leaves | Overwatering, underwatering, inadequate lighting | Adjust watering habits, provide adequate light |
| Drooping Leaves | Underwatering, insufficient humidity | Water regularly, increase humidity |
| Pests on Dieffenbachia | Spider mites, mealybugs | Treat with insecticidal soap or neem oil |
Our Recommendation: Repotting Dieffenbachia for Optimal Growth
When it comes to ensuring optimal growth and health for your dieffenbachia, following best practices for repotting is crucial. Repotting your dieffenbachia at the right time and in the right way can make a significant difference in its overall well-being.
First and foremost, it’s important to select the right pot size for your dieffenbachia. Choose a container that is slightly larger than its current one, allowing room for the roots to grow. Ensure that the pot has drainage holes to prevent waterlogging, which can cause root rot.
Another essential aspect of repotting dieffenbachia is using a well-draining soil mix. Avoid heavy or compacted soils that may retain too much moisture. A mix of potting soil, perlite, and peat moss can provide the ideal balance of moisture retention and drainage for your plant.
Lastly, provide your dieffenbachia with the proper light and watering conditions after repotting. Place it in a location with bright, indirect light, away from harsh direct sunlight. Water your plant thoroughly when the top inch of soil feels dry, but avoid overwatering, as it can lead to root rot. Remember to adjust your watering frequency based on the season and environmental conditions.
FAQ
How do I choose the right pot and soil for repotting a Dieffenbachia plant?
When you’re repotting a Dieffenbachia, it’s best to choose a pot that gives the plant room to grow. The pot should have good drainage to prevent soggy soil. Use fresh soil that is well-draining and rich in organic matter.
What are some common problems with Dieffenbachia plants?
Some common problems with Dieffenbachia plants include yellowing leaves due to overwatering or lack of light, and root rot due to soggy soil. It’s important to keep the soil moist but not waterlogged.
How do I care for a Dieffenbachia plant?
Dieffenbachia plant care involves placing the plant in a location with bright, indirect sunlight. The soil should be kept moist, and the plant should be fertilized during the growing season.
How does a Dieffenbachia plant grow?
Dieffenbachia plants are popular indoor plants that grow best in bright, indirect light. They prefer well-draining soil and should be watered when the top inch of soil is dry.
How often should I fertilize a Dieffenbachia plant?
Dieffenbachia plants should be fertilized during the growing season, typically in the spring and summer. Use a balanced houseplant fertilizer and follow the package instructions for application rates.
When is the best time to repot a Dieffenbachia plant?
The best time to repot a Dieffenbachia plant is during the growing season, typically in the spring. This gives the plant time to establish in its new pot before the winter months.
