Fittonia Albivenis Propagation: Step-by-Step Guide To Propagate Nerve Plant
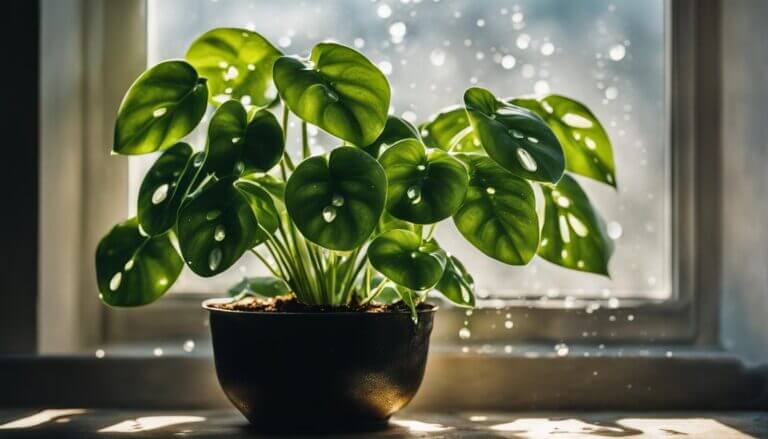
Propagating nerve plants, also known as Fittonia albivenis, is a rewarding and straightforward process. By following these step-by-step instructions, you can successfully multiply your collection of these beautiful and delicate foliage plants. Whether you choose to propagate from stem cuttings or division, this guide will provide you with everything you need to know to successfully propagate your nerve plants.
Key Takeaways:
- Propagating nerve plants is an easy and rewarding way to expand your collection.
- Spring is the ideal time to propagate nerve plants, but propagation can be successful year-round with the right conditions.
- Choose the right potting mix, container, and provide adequate watering and humidity for successful propagation.
- Monitor for signs of successful propagation and address any issues promptly.
- Once propagated nerve plants have matured, provide ongoing care with consistent watering, fertilizing, pruning, and repotting.
Why Propagate Nerve Plants
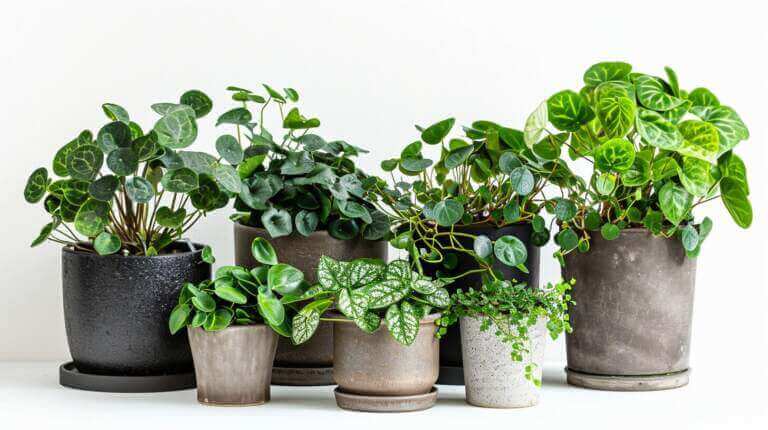
There are several reasons why I highly recommend propagating nerve plants. First and foremost, propagating allows you to expand your collection of these stunning plants. By multiplying your nerve plants, you’ll have the opportunity to enjoy their unique and striking foliage in different areas of your home or garden. Additionally, propagating offers the chance to share the beauty of nerve plants with others. Whether you want to give propagated plants as gifts to friends or sell them to fellow plant enthusiasts, there will be no shortage of recipients eagerly awaiting these eye-catching additions to their own collections.
Another compelling reason to propagate nerve plants is to rejuvenate the parent plant. Over time, the original plant may start to look tired or leggy, affecting its overall appearance and health. By propagating, you can give the parent plant a fresh start and encourage new growth that will ultimately result in a healthier and more vibrant plant. It’s like pressing the reset button and breathing new life into your beloved nerve plant.
The Benefits of Propagating Nerve Plants:
- Expanding your collection of unique and striking foliage plants
- Rejuvenating tired or leggy parent plants
- Sharing the beauty of nerve plants as gifts or for sale
- Meeting the high demand for these sought-after plants
Propagation Methods for Nerve Plants
Nerve plants, also known as Fittonia albivenis, can be successfully propagated using two main methods: stem cuttings and division. Both methods have their advantages and can be effective in multiplying your collection of these beautiful foliage plants. The choice of method depends on your preference and the resources available to you.
Stem Cuttings
Propagating nerve plants from stem cuttings involves taking a healthy stem from the parent plant and rooting it in either water or soil. Here’s a step-by-step guide to propagating nerve plants using stem cuttings:
- Choose a healthy stem from the parent plant that has several leaves.
- Using a clean, sharp pair of scissors or pruners, make a clean cut just below a leaf node.
- Remove the leaves from the lower portion of the cutting, leaving only a few leaves at the top.
- If propagating in water, place the cutting in a container filled with clean, room temperature water. Change the water every few days to prevent stagnation. Roots should start to form within a few weeks.
- If propagating in soil, dip the cut end of the stem in a root hormone powder to encourage root growth. Plant the cutting in a small pot filled with moist potting soil. Keep the soil consistently moist but not waterlogged. Roots should start to develop within a few weeks.
- Place the cutting in a warm and humid location with bright, indirect light. Avoid direct sunlight, as it can scorch the delicate leaves.
- Monitor the cutting regularly and provide the necessary care until it is well-established and ready to be potted into a larger container.
Division
Another method of propagating nerve plants is through division. This method involves separating the parent plant into several rooted sections. Here’s how to propagate nerve plants using division:
- Carefully remove the parent plant from its pot and gently shake off excess soil.
- Inspect the plant for natural divisions, which are areas where the plant naturally separates into distinct sections.
- Using clean, sharp scissors or pruners, separate the plant into individual sections, making sure each section has a healthy root system and several leaves.
- Plant each section in a small pot filled with moist potting soil, ensuring the roots are covered but the leaves remain above the soil surface.
- Place the newly divided plants in a warm and humid location with bright, indirect light.
- Water the plants regularly, keeping the soil consistently moist but not waterlogged.
- Monitor the plants closely and provide the necessary care until they are well-established and ready to be potted into larger containers.
| Propagation Method | Advantages |
|---|---|
| Stem Cuttings | Allows for rapid propagation and root development |
| Division | Preserves the natural form of the parent plant and creates multiple individual plants |
Propagation Timing for Nerve Plants
Timing is an essential factor for successful propagation of nerve plants. While spring is the best time to propagate these plants, it is possible to propagate them successfully at any time of the year. Spring is ideal because nerve plants naturally experience new growth during this season, making it easier for them to root and establish themselves.
However, regardless of the season, creating the right conditions is key to successful propagation. Nerve plants thrive in warm and humid environments, so maintaining the appropriate temperature and humidity levels is crucial. Providing a consistent light source, such as a grow light, can also promote healthy growth and root development.
Conditions for Successful Propagation
When propagating nerve plants, there are a few key conditions to keep in mind to increase your chances of success:
- Temperature: Nerve plants prefer temperatures between 70-80°F (21-27°C) during the day and around 65°F (18°C) at night.
- Humidity: Aim for humidity levels above 50%. You can achieve this by misting the plants regularly or placing them on a humidity tray filled with water.
- Light: Provide bright, indirect light for your propagated nerve plants. Avoid direct sunlight, as it can scorch the delicate foliage.
- Watering: Keep the soil consistently moist but not waterlogged. Overwatering can lead to root rot, while underwatering can hinder root development.
By paying attention to these conditions and adjusting as needed, you can create an optimal environment for your propagated nerve plants to thrive.
| Season | Temperature | Humidity | Light |
|---|---|---|---|
| Spring | 70-80°F (21-27°C) | Above 50% | Bright, indirect light |
| Summer | 70-80°F (21-27°C) | Above 50% | Bright, indirect light |
| Fall | 70-80°F (21-27°C) | Above 50% | Bright, indirect light |
| Winter | 65°F (18°C) | Above 50% | Bright, indirect light |
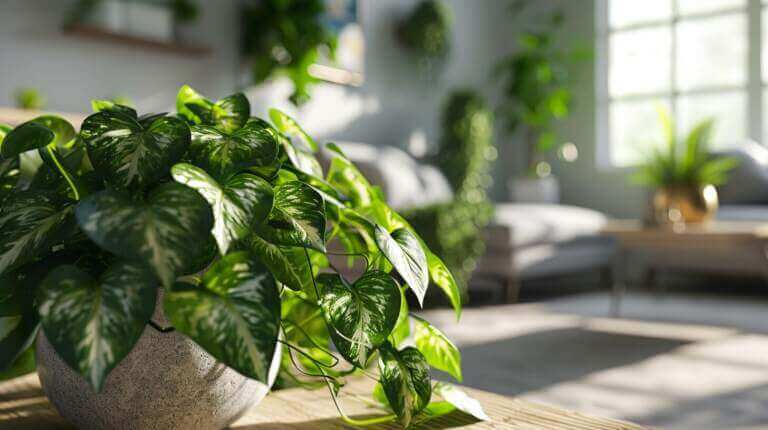
Potting and Caring for Propagated Nerve Plants
When it comes to potting and caring for propagated nerve plants, there are a few key factors to consider. First and foremost, selecting the right potting mix is crucial for their health and growth. A high-quality potting mix that retains water while allowing for proper drainage is ideal. This will ensure that your nerve plants have the right balance of moisture, preventing waterlogging which can lead to root rot. A suitable potting mix will provide the necessary nutrients and support for their overall well-being.
In addition to choosing the right potting mix, selecting the proper container is equally important. Opt for a container with drainage holes to prevent water from accumulating at the bottom, as excess moisture can be detrimental to the roots of your nerve plants. This will help maintain a healthy root system and prevent root rot. Consider the size of the container as well, ensuring that it provides enough room for root growth while not being too spacious, which can lead to excessive moisture retention.
Watering and humidity are crucial aspects of caring for propagated nerve plants. While nerve plants prefer moist soil, it is important to strike a balance and avoid overwatering. Allow the top layer of soil to dry out slightly before watering again. This will prevent waterlogged conditions that can lead to root rot. Additionally, nerve plants thrive in a humid environment. Misting the foliage occasionally or using a humidity tray can help create the desired level of humidity for optimal growth.
| Key Considerations for Potting and Caring for Propagated Nerve Plants |
|---|
| Choose a high-quality potting mix that retains water and drains well. |
| Use a container with drainage holes to prevent waterlogging and root rot. |
| Water nerve plants when the top layer of soil is slightly dry, avoiding overwatering. |
| Create a humid environment through misting or the use of a humidity tray. |
| Place your nerve plants in a location with bright, indirect light. |
Monitoring and Troubleshooting Propagation
As you embark on the journey of propagating your nerve plants, it is important to monitor their progress and address any issues that may arise. By keeping a close eye on your propagated plants, you can identify signs of successful propagation and promptly troubleshoot any common problems that may occur.
Signs of successful propagation include the development of new roots, which indicate that your cuttings or divisions are thriving and establishing themselves. The appearance of healthy, vibrant foliage is also a positive indicator of successful propagation. It’s important to note that different plants may exhibit different signs of growth, so familiarize yourself with the specific characteristics of nerve plants to accurately gauge their progress.
Despite your best efforts, you may encounter some common propagation issues along the way. One common problem is droopy leaves, which can be a sign of overwatering or underwatering. To resolve this issue, adjust your watering routine accordingly, ensuring that the soil is consistently moist but not waterlogged.
Another potential issue is root rot, which can occur if the soil is excessively wet or if there is poor drainage. If you notice signs of root rot, such as slimy or discolored roots, it is crucial to take immediate action. Carefully remove the affected plant from its pot, trim away any damaged roots, and repot it in fresh, well-draining soil.
If you find that your propagated nerve plants are slow to root, there are a few troubleshooting tips you can try. Providing bottom heat, such as with a heating mat or warm water bath, can help stimulate root growth. Additionally, ensuring that the humidity levels are adequate by using a humidity dome or covering the plant with a plastic bag can create a conducive environment for rooting.
Nurturing Propagated Nerve Plants to Maturity
Once I have successfully propagated my nerve plants, it is important to provide them with the ongoing care they need to thrive and reach maturity. One of the key aspects of long-term care is consistent watering. I ensure that I water my propagated nerve plants regularly, making sure the soil is moist but not waterlogged. Overwatering can lead to root rot, so I am careful not to let the soil become overly saturated.
Fertilizing is another essential part of nurturing my propagated nerve plants. To promote healthy growth, I fertilize them on a regular basis using a balanced houseplant fertilizer. Following the instructions on the fertilizer package, I apply it at the recommended intervals to provide the necessary nutrients for my plants.
Pruning is also crucial in maintaining the health and appearance of my propagated nerve plants. I trim any dead or yellowing leaves to keep the plants looking vibrant and to prevent the spread of any potential diseases. Additionally, I occasionally prune the stems to stimulate branching and encourage a fuller, bushier growth habit.
Repotting is necessary every 2-3 years to ensure that my propagated nerve plants have enough space to grow and thrive. When I repot, I choose a slightly larger container with proper drainage to prevent waterlogging. I also use a high-quality potting mix that retains moisture while allowing for adequate airflow to the roots. Repotting not only provides fresh nutrients but also helps rejuvenate the plants and promotes healthier growth.
FAQ
What is the best way to propagate Fittonia plant?
The best way to propagate a Fittonia plant is through leaf cuttings. You can place the cutting in water or soil to root.
How do I care for my Fittonia plant after propagation?
After propagation, keep the soil of your new Fittonia plant moist but not waterlogged. Place it in indirect sunlight and maintain a high humidity environment.
Can I propagate a Fittonia plant in water?
Yes, you can propagate a Fittonia plant in water. Simply place the leaf cutting in water and wait for roots to grow. Remember to change the water regularly to prevent rot.
How long does it take for a Fittonia cutting to root in water?
It typically takes a few weeks for a Fittonia cutting to start growing new roots in water. Be patient and keep the plant in ideal conditions to encourage growth.
Can I use a Fittonia plant in a terrarium?
Yes, Fittonia plants are great for terrariums due to their love for high humidity environments.
Why are the leaves on my Fittonia plant drooping?
Drooping leaves on a Fittonia plant can be a sign of overwatering or underwatering. Adjust your watering schedule based on the condition of the soil.
Do I need to use rooting hormone when propagating a Fittonia plant?
Using rooting hormone can help speed up the propagation process, but it’s not necessary. Fittonia plants can root well without it.
When is the best time to propagate a Fittonia plant?
The best time to propagate a Fittonia plant is during its growing season, typically in the spring or early summer.
How often should I repot my Fittonia plant?
Fittonia plants typically need to be repotted every 2-3 years. However, if the plant is growing rapidly or the roots are crowding the pot, it may need to be repotted sooner.
Why are the leaves on my Fittonia plant turning yellow?
Yellow leaves on a Fittonia plant can be a sign of overwatering. Make sure the plant is not sitting in waterlogged soil and that the pot has good drainage.