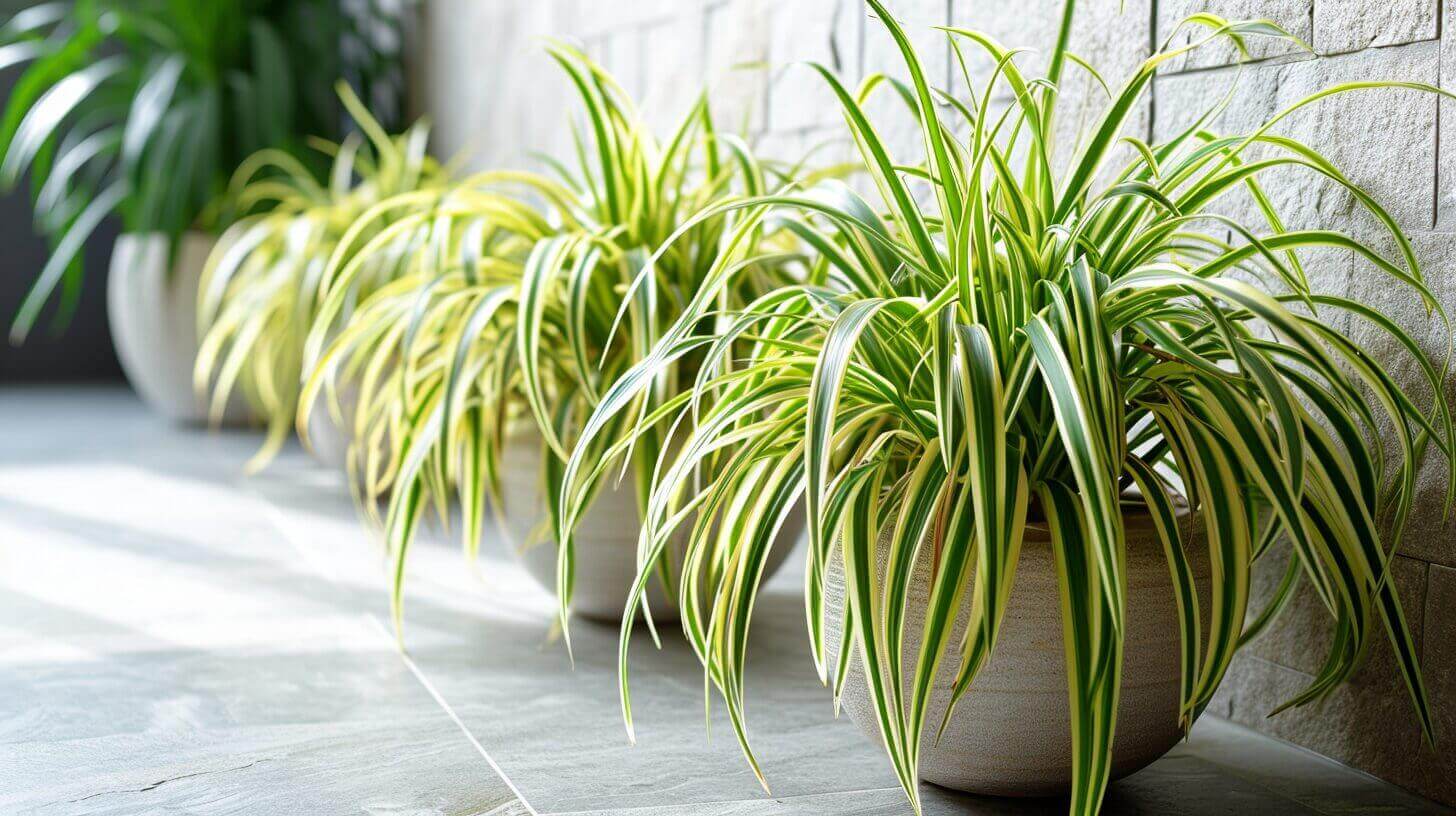
In the vast world of gardening, the spider plant stands as a resilient and beloved companion, gracing indoor spaces with its elegant foliage.
However, like all living beings, it too requires care and attention.
This article serves as a step-by-step guide, illuminating the when and how of repotting a spider plant, ensuring its continued flourishing.
Dive into the intricacies of selecting the perfect pot, preparing the soil, and executing the repotting process with ease.
Discover the secrets to nurturing a thriving spider plant, serving its well-being and enhancing the beauty it brings to your environment.
Key Takeaways
- Signs that indicate the need for repotting a spider plant include roots growing out of drainage holes, lack of new growth or leaves, quick soil drying, and frequent watering.
- When choosing a pot for repotting, opt for one that is slightly larger than the current pot and provides good drainage, such as terra cotta or plastic pots with drainage holes.
- Prepare the soil for repotting by using a well-draining potting mix or a combination of peat moss, perlite, and vermiculite. The soil should be nutrient-rich with organic matter and have a slightly acidic to neutral pH.
- Follow a step-by-step guide for repotting, including choosing the right time to repot, gently removing the plant, loosening the root ball, placing the plant at the same depth in the new pot, and watering thoroughly. After repotting, provide proper aftercare by watering appropriately, placing the plant in indirect sunlight, maintaining suitable temperatures, and fertilizing as needed.
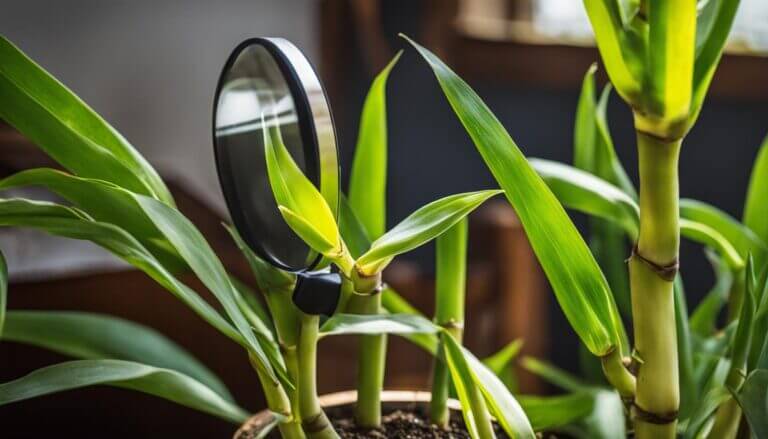
Signs That Your Spider Plant Needs Repotting
As a responsible plant owner, it is important to be aware of the signs that indicate when your spider plant needs repotting. Proper indoor plant care includes recognizing these signs in order to provide a healthy environment for your spider plant.
One common sign is when the roots start to become overcrowded and begin to grow out of the drainage holes at the bottom of the pot. Another indicator is if the plant has stopped growing or producing new leaves. Furthermore, if you notice that the soil is drying out quickly and the plant requires frequent watering, it may be a sign that the current pot is too small to hold enough moisture. Additionally, if you frequently encounter common pests such as fungus gnats or root rot, it may be time to repot your spider plant.
Recognizing these signs will help you determine whether or not your spider plant needs repotting and ensure its overall health and well-being.
Now, let’s move on to the next step – choosing the right pot for your spider plant.
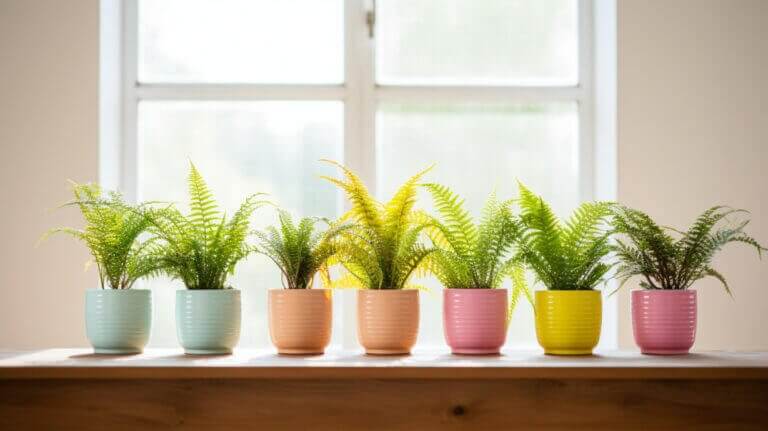
Choosing the Right Pot for Your Spider Plant
To ensure optimal growth and development, it is crucial to carefully select the appropriate pot and consider various factors when choosing the right pot for your spider plant.
One of the key considerations is the pot size. Spider plants prefer pots that are slightly larger than their current one, allowing room for their roots to grow. However, avoid choosing a pot that is too large as it can lead to over-watering and root rot.
Additionally, selecting the right pot material is important. Terra cotta pots are a popular choice as they provide good drainage and allow the soil to breathe. Plastic pots are also suitable, but make sure they have drainage holes.
Now that you’ve chosen the perfect pot, it’s time to prepare the soil for repotting.
Preparing the Soil for Repotting
Regularly checking and replenishing the nutrients in the soil is essential before repotting a spider plant. Proper soil preparation ensures the plant’s growth and overall health.
When selecting suitable soil for spider plants, consider the following:
- Well-draining soil: Spider plants prefer soil that drains well to avoid waterlogging, which can lead to root rot. It is recommended to use a well-draining potting mix or a combination of peat moss, perlite, and vermiculite.
- Nutrient-rich soil: Spider plants thrive in nutrient-rich soil. Look for a potting mix that contains organic matter, such as compost or aged manure, to provide essential nutrients.
- pH level: Spider plants prefer slightly acidic to neutral soil with a pH range of 6.0 to 7.0.
- Moisture retention: The soil should retain moisture without becoming waterlogged. Adding organic matter can help improve moisture retention.
Step-by-Step Guide to Repotting Your Spider Plant
When and why should you repot your spider plant, and what are the steps involved in the repotting process?
Repotting your spider plant is necessary when it becomes root-bound, meaning the roots have outgrown the current container. This usually happens every 1-2 years.
The repotting process involves transferring the spider plant to a larger container to give its roots more space to grow. To begin, choose a new pot that is 1-2 inches larger in diameter than the current one. Gently remove the plant from its current pot, being careful not to damage the roots. Loosen the root ball and remove any dead or damaged roots.
Place the plant in the new pot and fill it with fresh potting soil, ensuring that the plant is at the same depth as before. Finally, water the plant thoroughly to help it settle into its new home. With these repotting techniques, your spider plant will have the room it needs to continue thriving.
Now that you have successfully repotted your spider plant, it is important to provide proper aftercare to ensure its continued health and growth.
Aftercare Tips for a Newly Repotted Spider Plant
Proper hydration is crucial in the aftercare of a newly repotted spider plant. Here are some important tips to ensure your spider plant thrives after repotting:
- Watering: Water your newly repotted spider plant thoroughly, ensuring the soil is evenly moist. Avoid overwatering as it can lead to root rot.
- Lighting: Place your spider plant in a location that receives bright, indirect sunlight. Avoid direct sunlight as it can scorch the leaves.
- Temperature: Spider plants are adaptable to different climates, but they prefer temperatures between 60-75°F (15-24°C). Avoid extreme temperature fluctuations.
- Fertilizing: Feed your spider plant with a balanced, water-soluble fertilizer every 2-3 months during the growing season. Follow the instructions on the fertilizer packaging.
Frequently Asked Questions
How Often Should I Repot My Spider Plant?
Repotting a spider plant is an essential part of its care routine. The frequency at which you should repot your spider plant depends on a few factors. It is generally recommended to repot a spider plant every 2-3 years, or when you notice that the plant has outgrown its current container.
Signs that your spider plant needs to be repotted include overcrowded roots, stunted growth, and water drainage issues.
Repotting during spring or early summer is ideal, as it allows the plant to recover and establish new roots.
Can I Use Regular Potting Soil for My Spider Plant?
Regular potting soil can be used for spider plants, as they are not picky about soil type.
However, it is recommended to use a well-draining soil mix to prevent waterlogged roots. An alternative to regular potting soil is a mixture of equal parts peat moss, perlite, and vermiculite, which provides good drainage.
Spider plants thrive in slightly acidic to neutral soil with a pH of 6.0 to 7.5.
Remember to repot your spider plant every 1-2 years to ensure its healthy growth.
Can I Prune My Spider Plant Before Repotting It?
Pruning a spider plant before repotting can be beneficial for its overall health and appearance.
Pruning helps remove any dead or diseased foliage, stimulates new growth, and maintains the plant’s shape.
To prune a spider plant, use clean and sharp pruning shears to cut back any brown or yellow leaves, as well as any long, leggy stems.
Be sure to sanitize your tools before and after pruning to prevent the spread of diseases.
When Should I Repot My Spider Plant to Help Revive It?
When should you repot your spider plant to help revive dying spider plant? It’s crucial to transplant your spider plant when it outgrows its pot or shows signs of stress, such as yellow leaves or roots protruding from drainage holes. Repotting encourages new growth, alleviates root bound issues, and revitalizes the plant.
How Long Does It Take for a Spider Plant to Adjust After Repotting?
After repotting a spider plant, it typically takes about 1 to 2 weeks for the plant to adjust and start showing signs of healthy growth. During this time, it is important to provide proper care and attention to promote root growth.
To care for a spider plant after repotting, ensure it receives adequate sunlight, water it regularly but avoid overwatering, and use a well-draining soil mix.
Additionally, avoid fertilizing the plant immediately after repotting to allow the roots to settle and adjust.
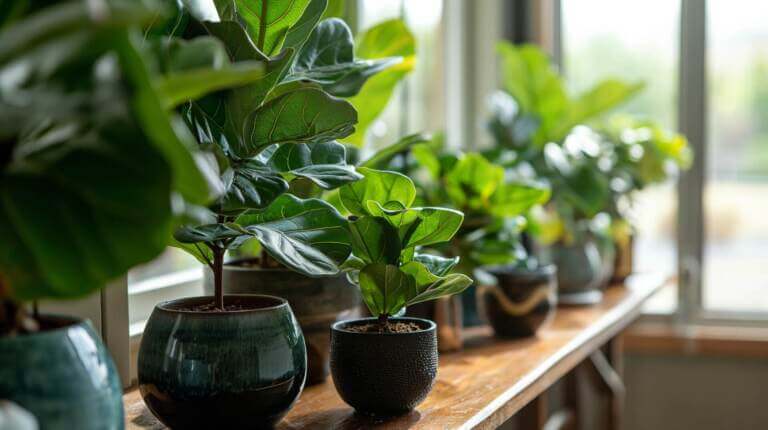
Can I Use a Clay Pot for My Spider Plant?
Using a clay pot for your spider plant can be likened to a nurturing embrace that allows the plant to thrive. Clay pots have their advantages, such as providing good drainage and breathability for the roots. However, they can be prone to drying out quickly and may require more frequent watering.
Alternatives to clay pots include plastic or ceramic containers, which offer different benefits depending on your specific needs. Consider the pros and cons before selecting the best pot for your spider plant’s well-being.